Tuesday, February 25, 2014

The New Kiln at Trahan! Thank You to the PAC!!!

A Great big THANK YOU to the PAC for their generous donation.  Grades 3 & 4 at Trahan will now get to crank out wonderful works of 3D art in clay!

Here it is!  The Kiln!


These are some recent clay pieces air drying before they
are put into the kiln.

This is what the clay piece looks like
after it comes out of the kiln for the first time.
It is called the "bisque" fire.
Grade 4 recently completed a lesson
incorporating the coil method with
a pinch pot method of clay building.

Another Grade 4 "bisque" fire piece.
This student also used the coil method with a
pinch pot method to build their piece.
This is a finished clay piece from the same Grade 4 lesson.

Thursday, February 13, 2014

Kindergarten Poppies


Earlier in the school year, Kindergarten students had a lot of fun learning about how to paint different sized dots.  First they had to draw the grass from the bottom up which in itself is not as easy as it sounds.  They really had to concentrate and pretend that their grass was actually growing! :0)  Next, the students painted their beautiful sky-choosing to mix a purple blue, or just use blue, or just use purple-oh goodness, the possibilities were endless!  And the grand finale, painting different sized dots, and in different shades of red, pink, and white.  Well, I can't imagine a more fantastic outcome, can you?  I hope you enjoy these as much as I do.


Wednesday, February 5, 2014

Portrait of a Snow Person on a Windy Day - Grade One


One of my favorite lessons!  Grade one learns about expression while they imagine how their snow person would feel when the wind takes away a favorite hat.


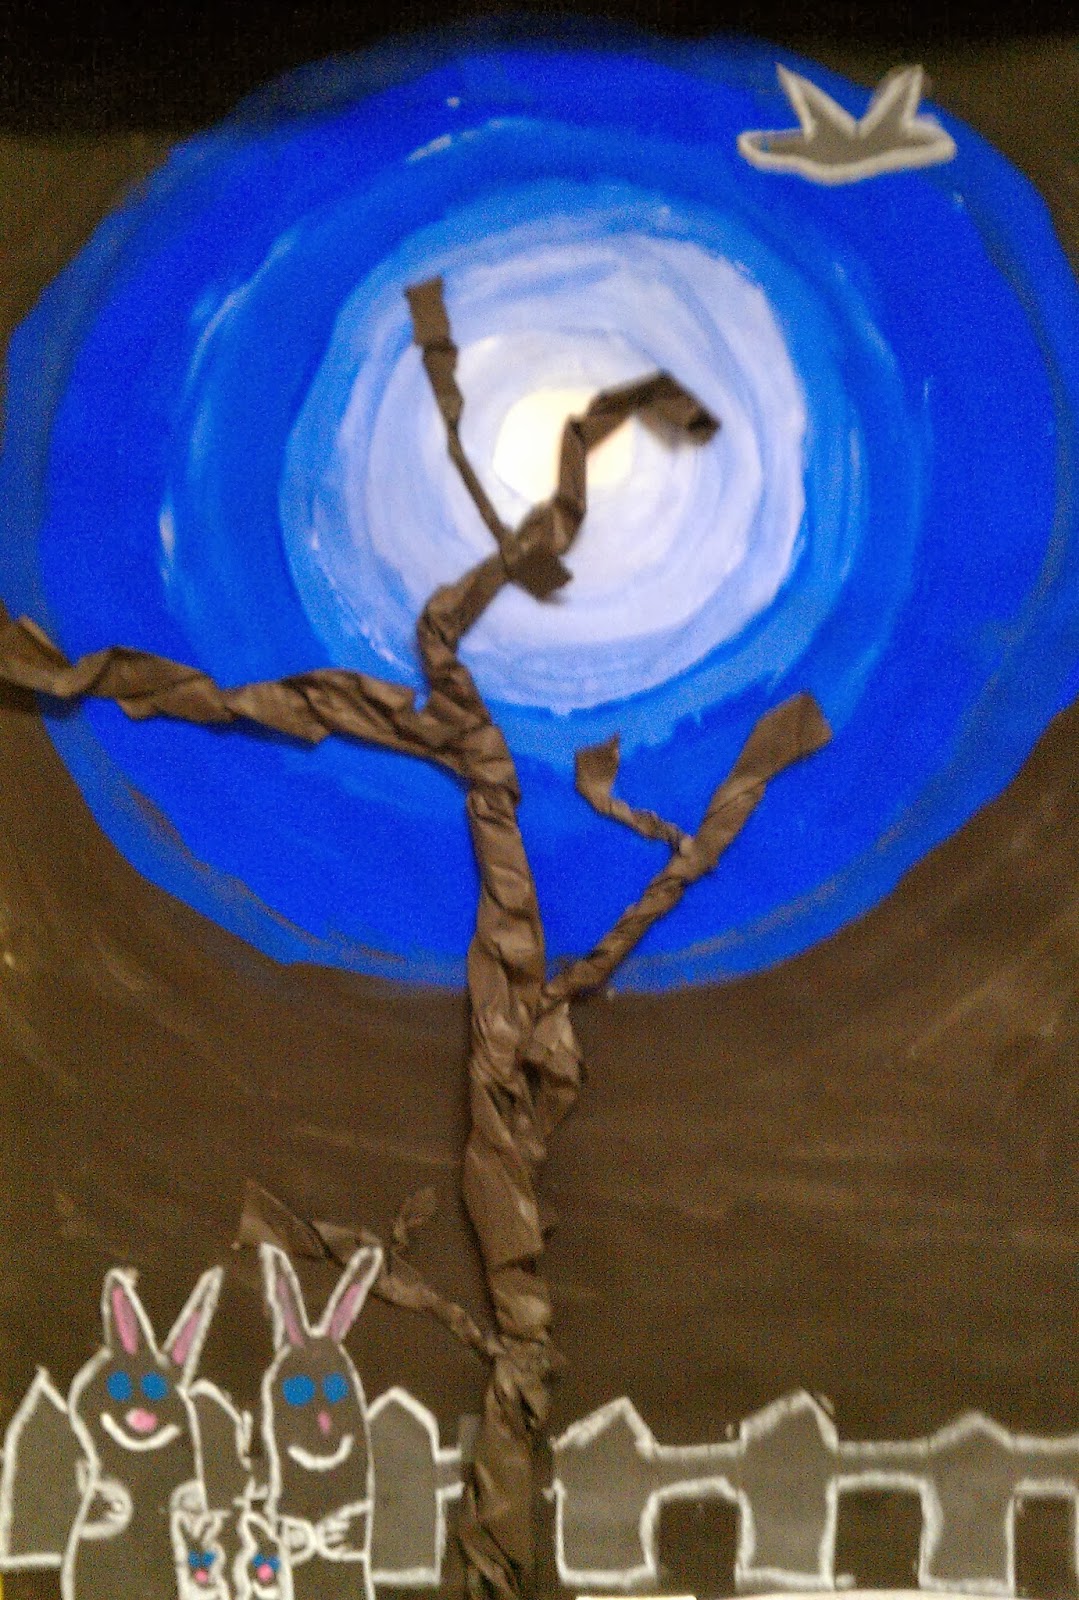
Silhouette With A Twist - Grade Four


the "more"...

After fourth grade finished up with the symmetrical value painting, the color black was introduced into the "mix".  Adding black to darken a color to create darker values began a new project.  Students chose their color, and were prompted to start with white on the page, proceed to slowly mix darker values of their color to create rings of the color around the white circle until they got to the solid color.  From there, they were asked to add black to start to create darker values of that color until finally the color was solid black.  Ultimately, the prompt was to paint from white, to their color, to black, with all values in between.  This is a great exercise and really drives the color mixing home.  Of course, I don't know about other teachers, but to me, these are perfect backgrounds for something else.  So, the something else this year was a moonlit silhouette collage.  I asked all students to created a 3D tree from twisted scrunched paper, with as many branches as they wanted.  From there, they could create any scene they wanted, keeping in mind that it was a silhouetted scene.  Wow, what a way to end the color unit!  Lots of great ideas came out of the scene creation, too.

Symmetrical Value Painting - Grade Four


Fourth Grade studied a color unit that included quite a bit of information.  We started by painting a color value strip to really understand shades or values of a color. Next, we proceeded to the symmetrical value study shown here.  The design is random, yet symmetrical.  Each side painted in values. One side in black mixed with white, and the other side in a color mixed with white.  Success is determined by how many shades and values are shown with their colors, and by neatness. Ultimately, we still want to see the random symmetrical design.


But wait, there's more...

Magical Moonlit Pumpkins - Grade Three


To reinforce the skill of creating distance in a painting or drawing, students in Grade 3 created a pumpkin patch in the moonlight showing foreground, middle ground and background.  Students were also guided through the process of shading objects to look three dimensional, complete with highlight and shadow.  They did an outstanding job and the outcome was quite impressive.


Textured Scarecrows - Grade Two

Grade Two students worked very hard on creating the illusion of space in their paintings.  They learned about foreground, middle ground, and background.  Take a look at the division of space and the "rolling hills" they created to show this effect.  And why not add an awesome scarecrow in the field with some wonderful texture, too?